I bought my Xbox 360 just after Christmas 2006 – £300 for the console with two wireless controllers, Project Gotham 3 and the first Gears of War.
Since then it’s been painted, it’s red ringed and taken a holiday to Frankfurt where it was repaired over Christmas 2009, lived with me in five different houses, and generally been run in to the ground; but although all the internals were replaced with the RRoD repair in 2009, the hard drive was still the original 20Gb unit it arrived with.
Until the last couple of years this hasn’t been a problem, but now it’s annoying.
Halo 4 for example, requires you to install the second disc to the drive before you can play anything – that’s 4Gb gone right there. Throw in a few map packs and a lot of accumulated game saves and suddenly space is at a premium.
Not only that, new hard drives are also at a premium – depending where you look a new drive at the top end of the available sizes (250/320gb) can be £70!
But of course, you can often skirt doing things the “official” way. Within that drive enclosure is a standard 2.5″ SATA drive, and besides a little bit of software tinkering you basically just need to swap it for a larger drive.
In the newer style 360 it’s even easier since the native SATA connections are exposed inside the HDD slot, so you can literally take a 2.5″ drive and (carefully) plug it in to the slot. I knew this was possible having read about it at some point long ago, so “why not”, I thought.
Buying a new drive
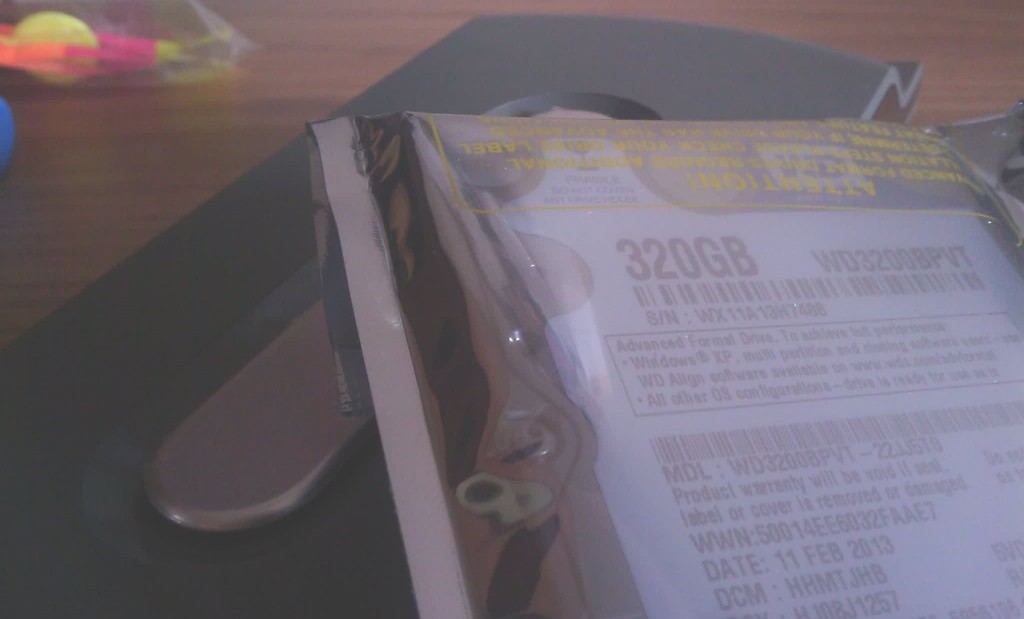
The first important thing is that only a small selection of drives will work for this procedure. They’re all Western Digital drives, and you’re probably best off looking in the Blue series for drives with model numbers ending in BEVS/BEVT/BPVT (a full list of drives can be found here).
It’s also important to know that the maximum capacity you will ever get is 320Gb, since that’s the largest official drive sold and we are basically going to modify our new drive to look like one of the official drives. You can buy a 500Gb drive, but only 320Gb will be usable on the console.
Personally I plumped for the 320Gb WD3200BPVT, which is the lowest spec’d drive (but matches the standard drives’ spec) and therefore the cheapest to find. It cost me £37 from Dabs Outlet.
Backing up your current drive
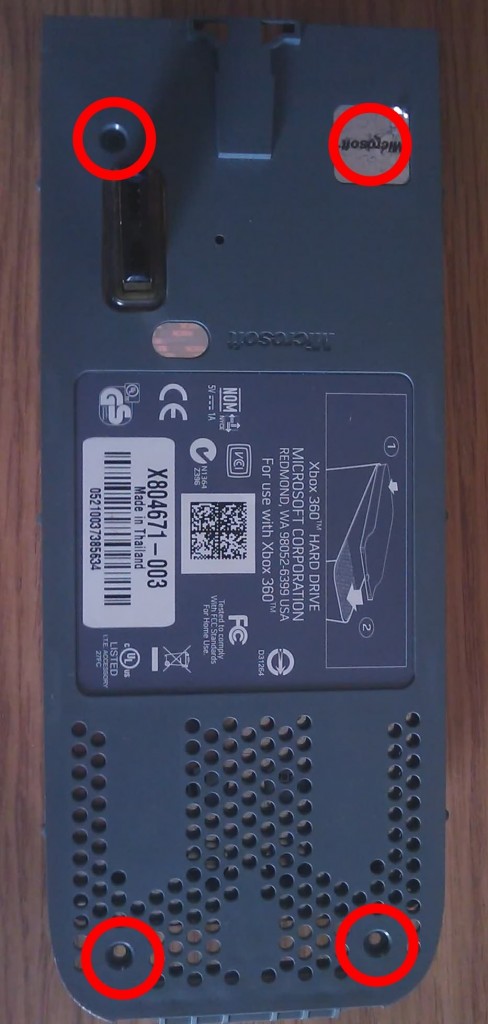
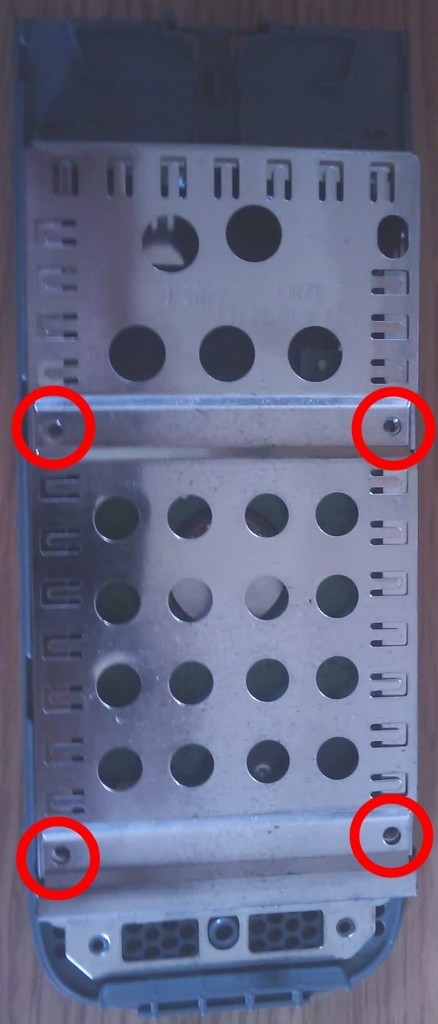
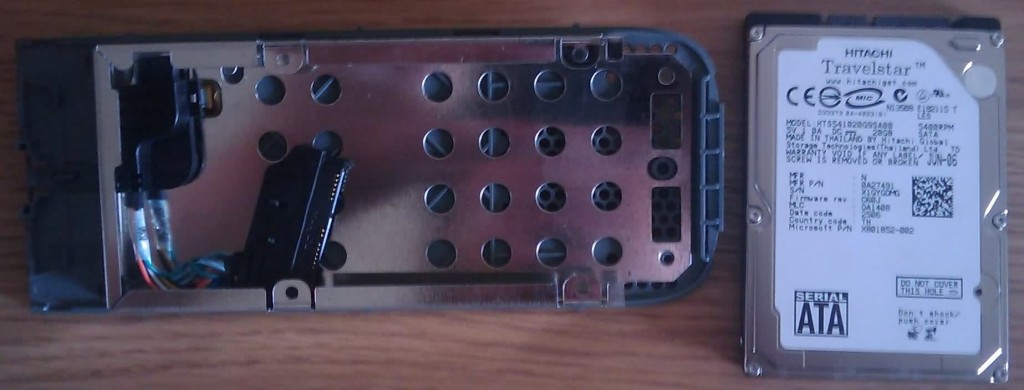
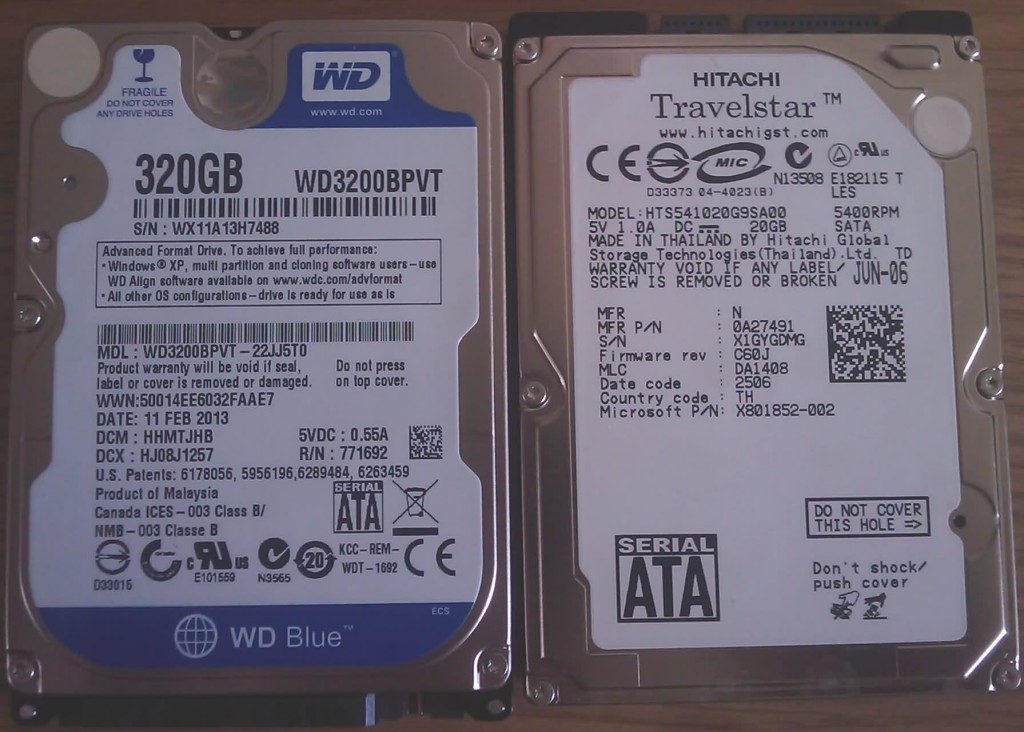
Freeing the old drive is pretty simple — you’ll need a Torx 6 and 10 screwdriver to remove the outer plastic and inner metal casing, and from there you can gently lift the far end of the metal base which holds the drive so that it clears the raised plastic and slide the drive out, disconnecting the SATA plug once you have enough room to do so (remember, SATA plugs can be delicate, try not to put too much pressure on it).
Now we have our two drives, we need to prepare the new drive for the Xbox, and back up all our content from the old drive so we can restore it to the new drive later.
First of all, let’s do the backing up…

You’ll need a Windows application called Xplorer360 which is available in many many versions and editions. If you’re working with a drive < 250Gb, you’ll want Xplorer360 Extreme 2, otherwise there are special 250Gb and 320Gb versions to handle those sizes. For backing up the old 20Gb drive then, we obviously need “Extreme 2”.
As with a lot of homebrew software all these applications tend to temporarily lock up if you give them a big job to do (i.e, deleting a very full folder), so be patient when using them.
Lets begin: turn off your computer, connect the old drive to a free SATA port, power it back up and once in Windows run Xplorer360 (as Administrator on Vista+).
Go to File > Open > Harddrive or Memcard, and after a few moments the left-hand pane should show “Partition 1, Partition 2, Partition 3.” We only care about the last two partitions, so go back to the File menu where the option to “Backup Partition 2” should now be enabled, click it and choose where to save the file.
Within Partition 3 are all the gamer profiles, save games, arcade games, original Xbox game saves, etc etc, so most of the important stuff. If you double click Partition 3 in the left-hand pane after a few seconds the contents will show – the folders you’re really interested in are “Content” (Xbox 360 profile, saves, arcade games, etc) and “Compatibility” (Original Xbox game saves), right click each of these in turn, choose “Extract folder” and pick where to save it…
Depending on how much stuff you have this may take a long time, but once you have these two folders you’re finished and can power down and disconnect the old drive.
Prepare the new drive
Depending on what size drive you bought you’ll need a different security sector to apply to it, so find/download the relevant file (250Gb, 320Gb, just Google if you need a different one). Now we need a DOS application called HDDHackr which will write this security sector for us, so go grab that, and then you’ll need to make a DOS bootable USB with the HDDHackr executable and the relevant drive security sector BIN file on it.
Shutdown and connect the new drive. If you’re unsure of what’s about to go on you might also want to disconnect all your other hard drives to avoid the chance of data loss.
Power back on and enter your BIOS settings to find the settings for your SATA connectors. You need to enable legacy or IDE mode, which essentially makes the SATA-connected drives appear as IDE so they’re compatible with legacy software like DOS. While you’re in the BIOS, you’ll also want to make sure your PC is set to boot from the USB drive you made.
Save those BIOS settings, let the PC boot to the blinking cursor of DOS, type “hddhackr” and press enter to start the application.
It will list the connected drives all numbered, so enter the number corresponding to your new blank drive. It will then give you options such as “Dump security sector”, “Create partition 1/2/3”, etc, you want to choose “Flash security sector”. It’ll ask for the file that contains the new sector you want to apply (HDDSS320.BIN assuming you didn’t rename the downloaded file above), and the name you want to use for the recovery sector (UNDO.BIN is simple enough).
Hitting enter will make it flash up some info on the drive before stating that the provided sector doesn’t match the drive’s existing firmware and asking for confirmation – say yes. It may then ask if you’re sure you want to apply an Xbox-compatible sector to the drive – say yes.
All being well, you’ll see a success message and a flashing line of text telling you to turn off (NOT restart) your computer, tapping the power button should do that for you.
HDDHackr has applied the Xbox security sector and partitioned the drive, but it hasn’t formatted it in the Xbox’s FATX file system, so now you have to disconnect the drive from your PC, re-connect it to the Xbox drive enclosure and power on your Xbox with the drive connected.
You should be able to go to System > Storage on the console and see the drive with it’s new, larger capacity, as well as browse the nothingness it currently contains. Remove the drive and plug it back in to your PC – you can also now reconnect your other hard drives, remove the bootable USB drive, and upon starting the computer, enter the BIOS again and revert any changes you made.
Restoring content
Regardless of the size of the new drive you first want to use Xplorer360 Extreme 2 (as Administrator, remember). Click File > Open > Harddrive or Memcard, and then File > Restore Partition 2, browsing to find the BIN file you saved from the original drive. This shouldn’t take long.
If your new drive is 250 or 320Gb you need to close Extreme 2 and run the seperate, special version for that size drive, otherwise just keep using Extreme 2.
If you are using one of the special Xplorer360 editions for larger drives, DO NOT attempt to browse or do anything to the first two partitions, as this will corrupt the drive and you’ll just have to start over.
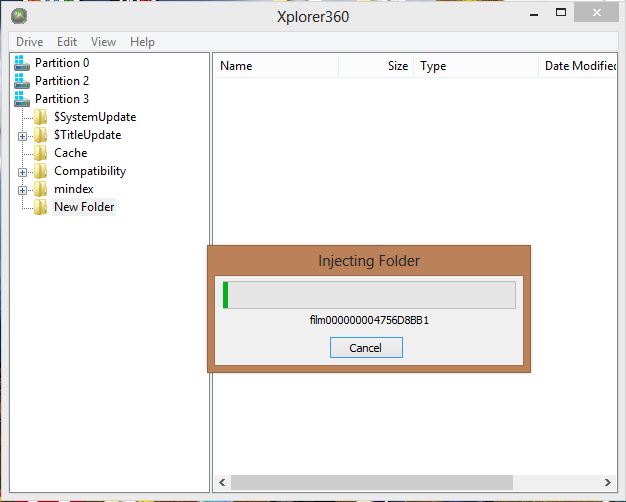
Once your drive is open in an appropriate version of Xplorer360, double click on Partition 3. If “Content” and “Compatibility” folders have been created by your Xbox, right click them and choose “Delete”, as we’ll be inserting the ones we backed up.
The application seems to have a strange way of inserting folders in to the drive, oftentimes copying them to the next directory up from where you told it to (i.e, right clicking a folder in the root of the partition and choosing “Insert…” would put it in the root instead of in the folder you chose), so I recommend you right click one of the folders in the root of the partition (mindex, $TitleUpdate etc) and choose “Insert folder”. Browse to and select the “Compatibility” and “Content” folders in turn – remember, this may take a while if you have a lot of stuff.
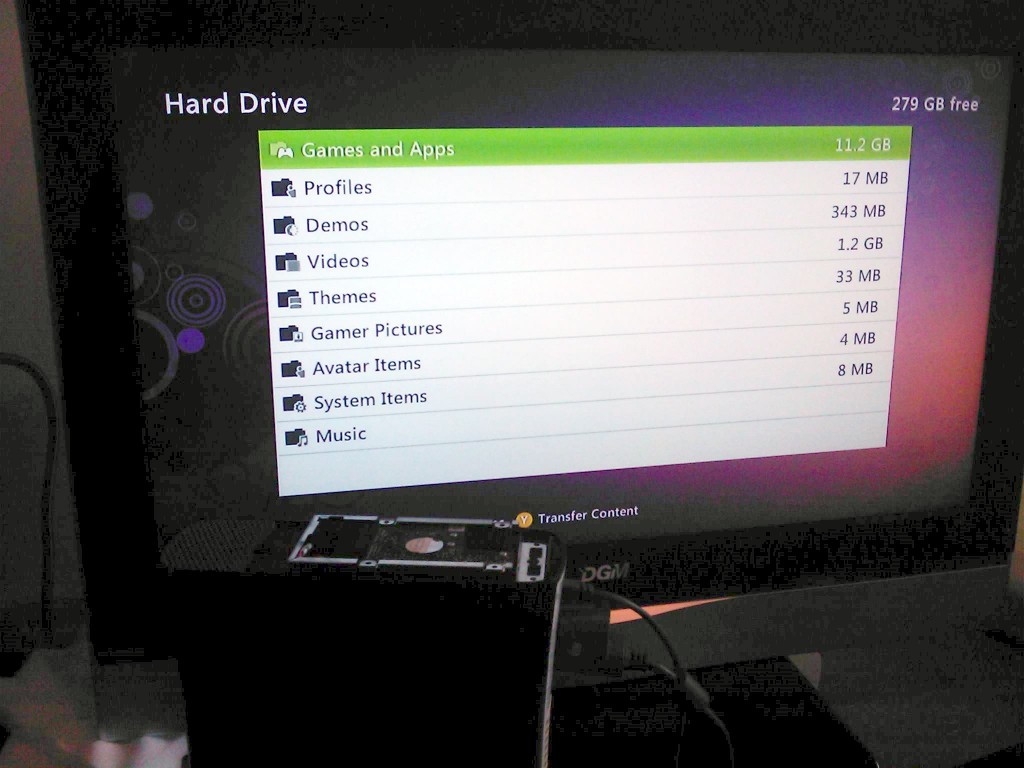
Once it’s done you should be good to go. Close Xplorer, turn off the PC, disconnect the drive and try it in your console again – you should now have all your stuff again!
If you need a more step by step guide with more pictures (particularly of HDDHackr, because I got lazy during that process) check out this post on Digiex, which also contains links to some of the other security sectors and utilities.
Thanks, I hope someone finds this useful.